Selecting & moving
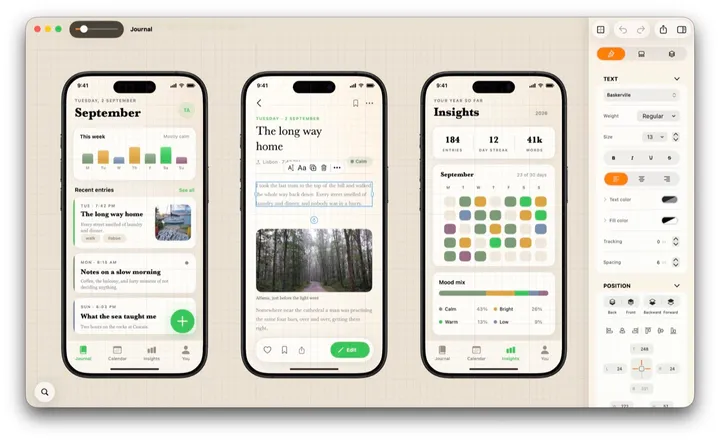
A board is a tree: screens hold cards, cards hold text and icons. Selection walks that tree, and the same handful of gestures does it on every device — with a keyboard and a pointer where you have them.
One tap, then another
- The first tap selects the top-level thing under your finger — the whole screen, card or group. That is on purpose: most of the time you want to move the screen, not the label on it.
- Tap again on something inside and the selection drills down to it. Keep tapping to go deeper.
- Double-tap goes back up one level. Double-tap a top-level element and every top-level element of the same kind is selected with it — all the phones on the board, say.
- A selected text edits on the next tap. A selected drawing opens for drawing. A selected Magic AI container starts a sketch on its left half and a prompt on its right.
- Tap empty space to deselect — or Esc on the Mac, the ✕ button on iPhone.
Selecting several
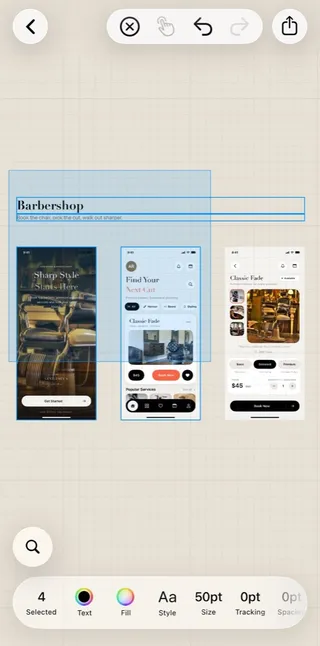
Dragging a box straight away needs a pointer — a mouse or a trackpad, on the Mac or on an iPad. With a finger, a drag pans the board, so you long-press first and then drag.
| Mac | ⌘-click adds or removes one element at a time. Click and drag on empty space to draw a marquee. ⌘A selects everything in view. |
| iPad | Long-press empty space, then drag: everything the box touches is selected. With a keyboard, ⌘-tap and ⌘A work like on the Mac; with a trackpad, so does click-and-drag. |
| iPhone | Long-press empty space, then drag — the pill counts what the box caught. To add one at a time instead, tap the hand in the top bar, then tap elements; the badge counts them. |
Moving
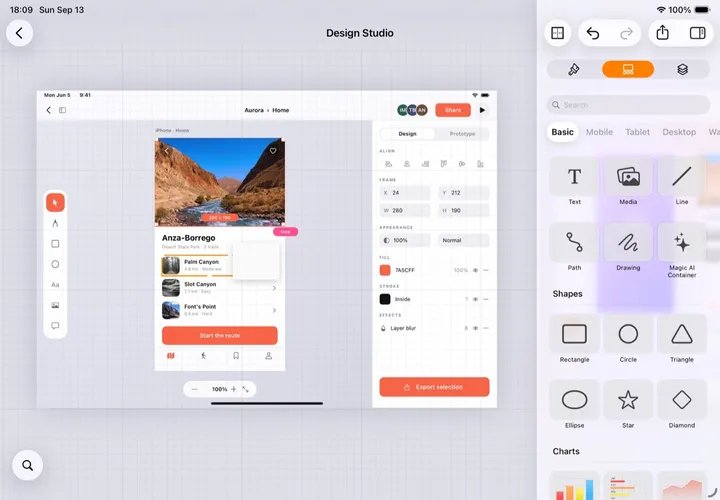
- Drag a selected element to move it. On the Mac — and on an iPad with a trackpad — you can skip the selecting: drag anything, and the top-level element under the pointer moves.
- Arrow keys nudge by 1 pt, ⇧ arrows by 10 pt. The alignment guides light up while you nudge.
- Everything snaps to the edges, centres and equal spacing of what is around it, Figma-style. Hold ⌘ to move without snapping; turn off Allow guides in the board settings to never snap.
- Hold ⇧ while dragging to lock the move to horizontal, vertical or 45°.
- Hold ⌥ as you start dragging to move a copy and leave the original where it was.
Resizing and rotating
- Edges and corners. Drag an edge handle to resize on one axis, a corner to resize both.
- Proportions. Corners keep the proportions when Aspect Ratio is on in the inspector — or while you hold ⌘.
- From the centre. Hold ⌥ to resize around the centre instead of the opposite edge.
- Rotate. Hold ⇧ and drag a corner. The exact angle is in Position, in the inspector.
- Fit in Container, under Arrange, makes an element fill its parent exactly.
Into and out of containers
Screens, cards and groups are containers: what is inside moves with them and is clipped by them. You put things in and take them out by holding still.
- In: drag an element over a container and hold still for about a second. The container lights up, a ring fills, and when you let go the element is inside.
- Out: drag something out of its parent, hold still, and it is released onto the board.
- Keep moving while it charges and nothing happens — the pause is the signal, so you can pass over containers freely.
- Dropping from Elements or Quick search needs no pause: aim at a screen and the part lands inside it.
More actions: the menu
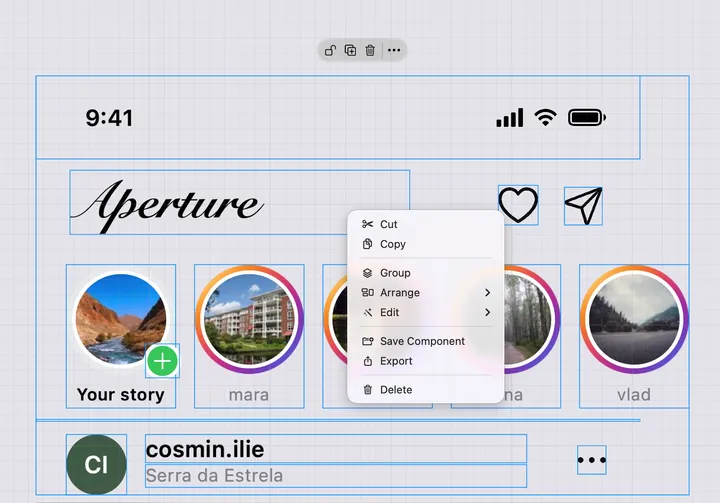
Every selection has a menu with everything you can do to it. Right-click on the Mac; two-finger tap on an iPad trackpad; on touch, long-press and keep holding until the ring completes.
- Cut, Copy, Paste, Duplicate, Delete — and Copy Style / Paste Style, which carry the look of one element to another.
- Group, Ungroup, Stack, Unstack.
- Arrange: to the front or the back, and Fit in Container.
- Edit: light or dark for just this selection, flip and rotate for photos, convert to freeform or path, rasterize, and the AI actions — remove background, vectorize, extract text, correct or rewrite text.
- Position — the pins sheet — plus Save Component and Export for the selection alone.
- On empty space the menu is short: Paste and Select all.
Lock, hide, and the small toolbar
- ⌘L — or the padlock in Layers — locks an element: it stays selectable, but it will not move or resize until you unlock it.
- The circle next to each layer toggles its opacity, so you can hide something without deleting it.
- A small toolbar floats beside the selection with the everyday actions: edit, text format, lock, duplicate, delete, and ⋯ for the full menu. Board settings › Toolbar sets it to Off, Auto or Always.